While there are several ways to bind a quilt, from self-binding to attached binding to facing, this tutorial is for attached binding that is sewn by machine to the front of a quilt, and then sewn down by hand to the back of the quilt for finishing.
Preparing Binding:
First, decide if you are going to use a 2 ½” strip or a 3” strip for making your binding. Since the method in this tutorial uses a single folded over (not the “double-folded” bias tape style) binding on the fabric grain, it will yield a ½” edging along your project if you use the 2 ½” strip, and the 3” strip will yield a ¾” bound edging.
When you have decided the width you want, cut the strips in the width you need from selvage to selvage. You need to calculate the number of inches in total length of binding needed by adding together the length of four side lengths of your quilt and then adding 12” (to account for the corners and final joining steps) for the total length (if binding a mini quilt or smaller project, you may use an extra 6” instead of 12”). For example, if you are making a throw sized quilt that measure 48” wide by 60” long you would calculate the total binding length needed as such: 48” + 48” + 60” + 60” + 12” = 228” total binding length.
Take your strips of fabric and sew them all together on a diagonal at the end of each strip to make one long strip. If using print fabric instead of a solid, make sure you are joining the strips right sides together when sewing your diagonal joining seam. If you prefer, or if you have limited yardage of your binding fabric of choice, you can do a straight edge-to-edge seam join of the strip ends and press the seams open. This may cause a little extra bulk along your quilt edge, but it won’t be very noticeable.
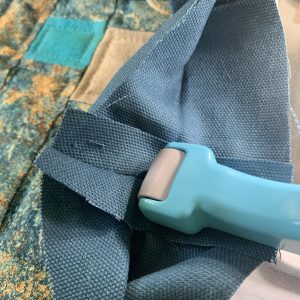
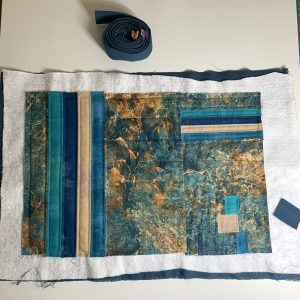
After the total length needed has been seamed together, fold the strip in half, wrong sides together, along the long side so the right (correct) side of the fabric is facing outward when folded. Using your iron, press the fabric along the fold edge for the entire length of binding needed to set the fold. It’s easier to work with the long lengths of binding if it’s rolled up once ironed–empty thread spools make handy binding holders, along with a binding clip to keep the edge from unraveling until ready to attach.
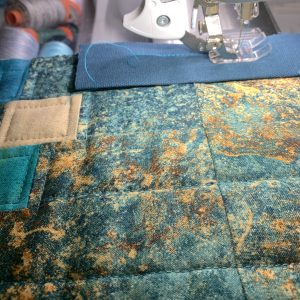
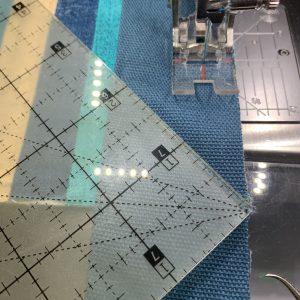
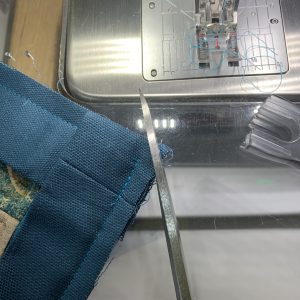
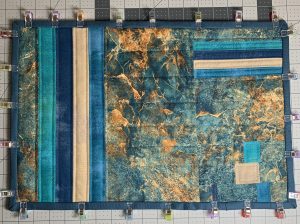
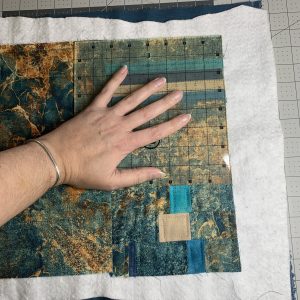
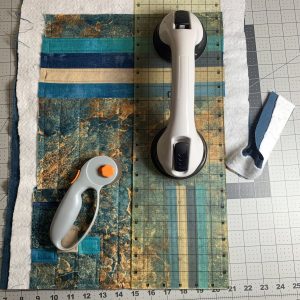
Once your quilt has been quilted, you will need to “square up” your quilt before you attach your binding. Using a square shaped ruler, start from one corner and work your way around your quilt to remove any excess backing and binding to create an even edge for attaching the binding.
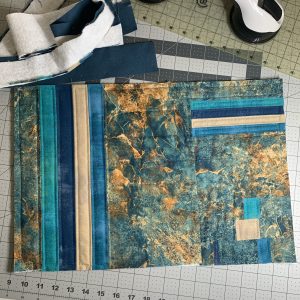
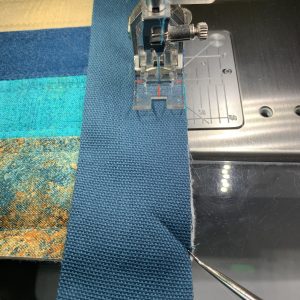
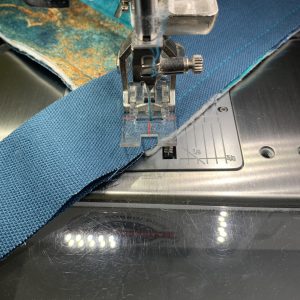
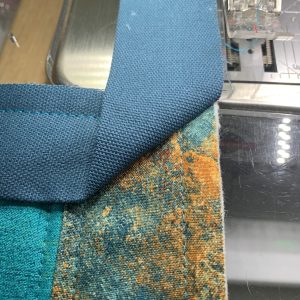
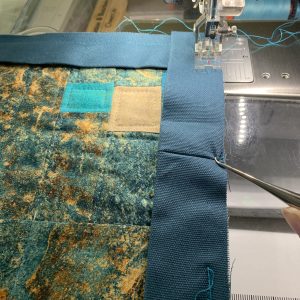
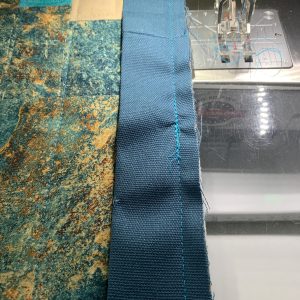
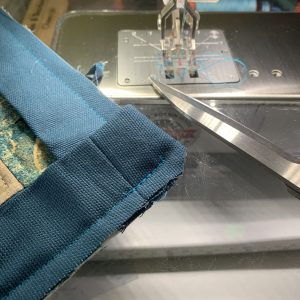
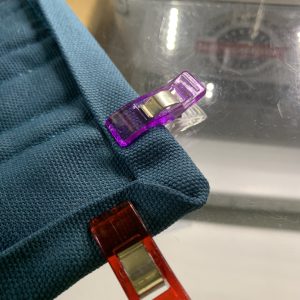
The method to attach binding for hand sewing down to finish versus planning to machine sewn down the binding, are pretty the much the same. The only difference being that for machine finishing, it’s better to attach the binding to the back and fold to the front so you can sew it down cleaning. Otherwise, if you are hand sewing down your binding with a whip stitch, it’s best to attach the binding to the front to have a clean even binding visible, and sew down to the back of the quilt. This placemat was completed with sewing the binding to the front with a machine and then hand stitching the binding down on the back.
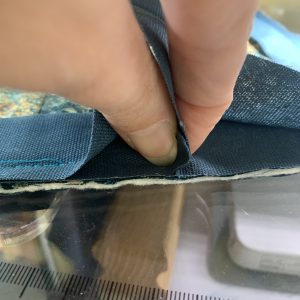
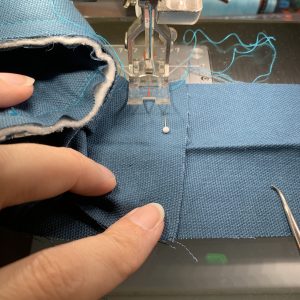
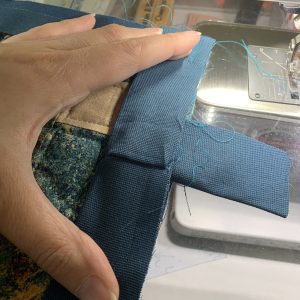
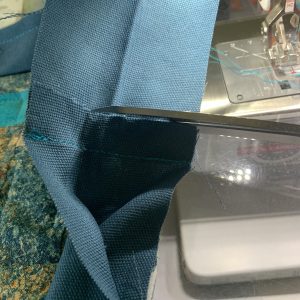
Below are the steps for attaching binding to the front of a quilt: